3. Getting Started
3.1. Access the Cloud through the Dashboard
Once you have been given an account, you can access the functionality provided by the Cloud. There are several ways of interacting with the Cloud. The simplest one is the dashboard, a web based GUI.
To access the production service of CloudVeneto via the dashboard, you must simply go to https://cloudveneto.ict.unipd.it/dashboard/ or https://cloud-areapd.pd.infn.it/dashboard/ in a browser.
You can now log either using the INFN-AAI credentials, the University of Padova Single Sign On (SSO) system, or using the username and password.
Warning
Please note that the credentials to be used here are not the ones for accessing gate.cloudveneto.it or for accessing the Virtual Machines instantiated on the Cloud.
3.2. Creating a keypair
You can now proceed creating a key-pair. This is a secret key which will allow you to interact with your virtual machines once they are created. This key should be handled with similar security to a password or an ssh key so it should only be stored in a secure directory such as a private area in your home folder.
The steps are as follows:
Open the Compute tab on the left side
Select Key Pairs
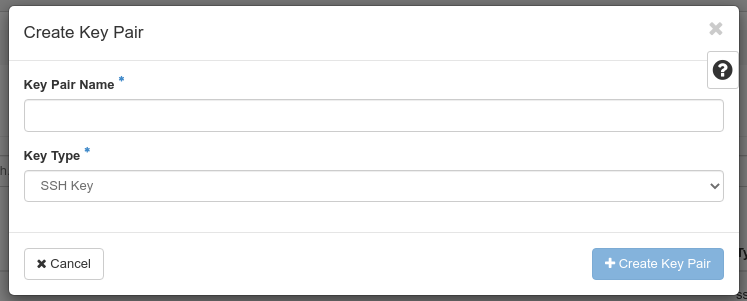
In the Key Pairs section, select Create Key Pair.
You will need to give the keypair a name, such as my_key. Select SSH Key as Key Type.
On completion of the operation, a file (my_key.pem in our example) will be downloaded to your computer.
Warning
Be careful not to loose the file you just downloaded since there is no way to download it again.
This file should be stored in a safe location. To keep it private, run:
chmod 600 my_key.pem
You can now use this key when instantiating a VM as an access method.
3.3. Importing your keypair
You might already have an ssh key you use to remotely access machines, and you migt want to use this ssh key instead of creating a new one (as explained in the previous section).
If you already have an ssh key, you have under the .ssh directory in your home folder a couple of files named id_rsa (or id_dsa) and id_rsa.pub (or id_dsa.pub).
Importing your public key allow you to ‘inject’ it on any newly created VM in your project.
The steps are as follows:
Open the Compute tab on the left side
Select Key Pairs
In the Key Pairs section, select Import Public Key.
You will need to give the keypair a name (your full username is a good choice), e.g. paolomazzon.
On the “Key Type” field, select SSH Key.
Then you can load your public key from a file (usually your id_rsa.pub file), or you can past its content.
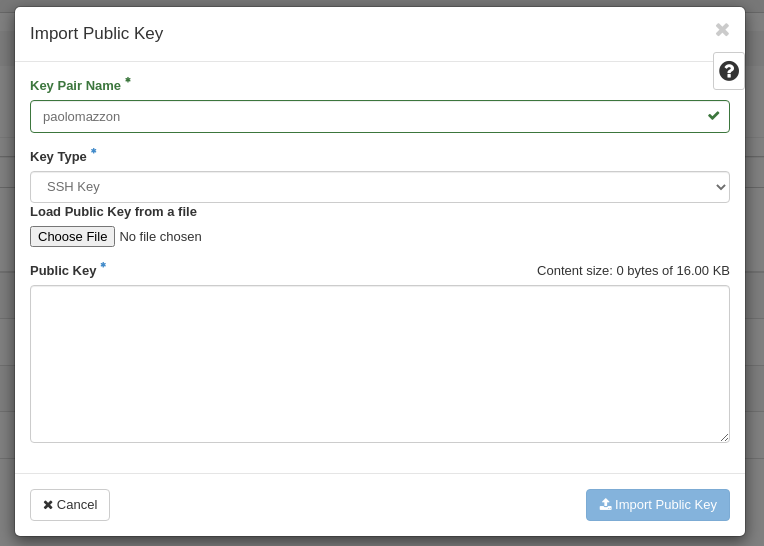
Finally click on the Import Public Key button
Warning
Be careful not to paste the content of your private key, the one without the ‘.pub’ extension.
You can now use your key pair when instantiating a VM as an access method.
3.4. Setting security group(s)
Security groups are sets of IP rules (firewall) that define networking access and are applied to all instances within a project using that group. As described in Creating Virtual Machines, when you create an instance you have to specify the security group(s) to be used.
Note
By default when a project is created, a default security group is created with rules allowing SSH and ping access to the virtual machines
To set some other IP rules, users can either add them to the default security group or can create a new security group with the desired rules.
For example the following procedure enables HTTPs access (i.e. on port 443) to the default security group. The rules apply to all instances within a given project using this security group.
This procedure can be adjusted as necessary to add additional security group rules to a project, if needed.
Log in to the dashboard, choose a project, and click Network → Security Groups. The security groups that are available for this project are shown.
Select the default security group and click Manage Rules.
To allow HTTPs access, click + Add Rule.
In the Add Rule dialog box, enter the following values:
Rule
HTTPS
Remote
CIDR
CIDR
0.0.0.0/0
Note
To accept requests from a particular range of IP addresses, specify the IP address block in the CIDR box.
Click Add.
Warning
If you need to enable some services on a Virtual Machine, besides setting the specific IP rules through security groups, be sure that the relevant ports are also enabled (e.g. via firewalld) on the Virtual Machine.
3.5. Password management
Warning
This procedure is NOT the one to be used to change the UniPD SSO or INFN AAI password and is NOT the one to be used to change the gate password !
You need to use the procedure described in the following subsection only if:
You access the cloud through username and password and you want to set/change that password;
You want to use the cloud infrastructure through the command line (see Accessing the Cloud with command line tools ).
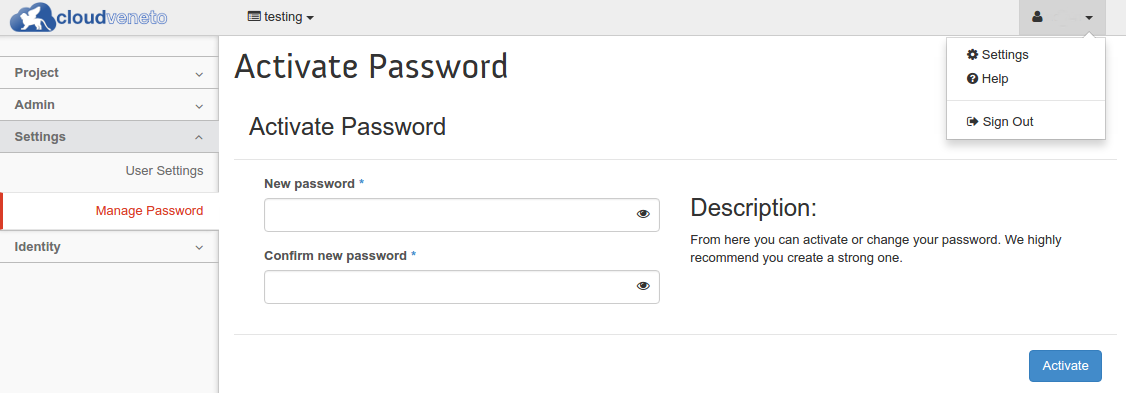
To set/change the password, from the OpenStack dashboard click on your user’s name (on the top), select Settings from the dropdown menu and then Manage Password.
Important
Once again: this is the password to authenticate with the Cloud “internal” authentication mechanism. It is uncorrelated from the UniPD SSO or INFN-AAI one and with the access to the gate host.
3.6. Switching between projects
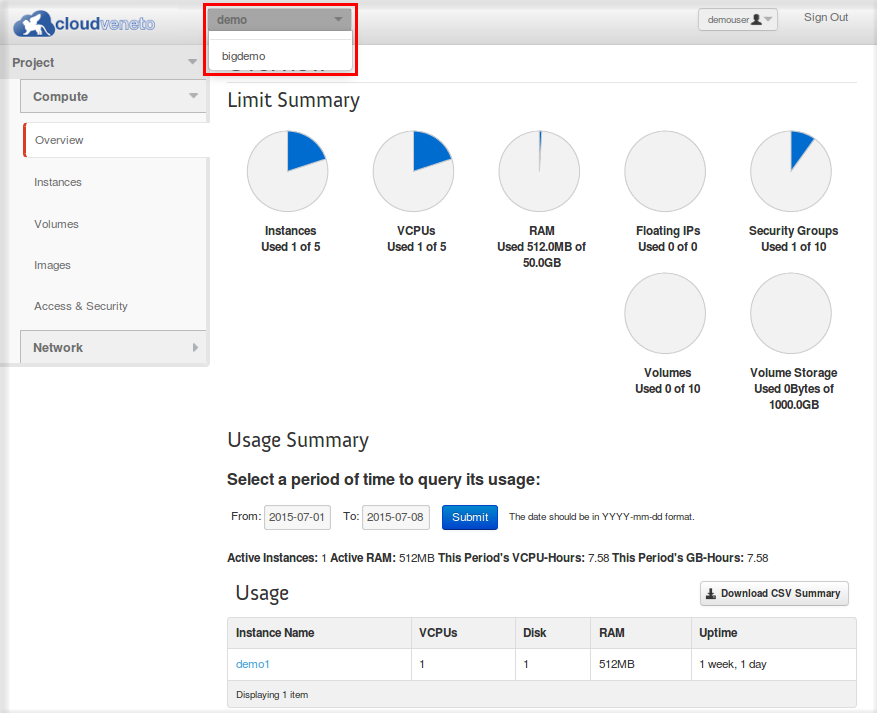
As introduced in Projects, a user can be on multiple projects at the same time. The current project is indicated by the top left dropdown menu near the logo.
To switch between projects just open the dropdown menu (as shown in the following figure) and select one of your available projects.
3.7. Accessing the Cloud with command line tools
It is possible to manage the Cloud using command line tools, even if most of the functionality provided by the Cloud can be accessed through the dashboard web interface. The documentation on the OpenStack site contains extended information on the syntax and installation procedure of the command line tools.
Note
INFN Padova users can find the OpenStack client installed on lx.pd.infn.it.
Important
Command line tools can only be used with the Cloud “internal” authentication mechanism. Even if you normally access the cloud dashboard using the UniPD SSO or INFN-AAI it’s now time to set a password.
The OpenStack tools require a set of shell environment variables in order to run. These variables can be obtained from the dashboard and then stored in an ‘rc’ file that you can source (much like your .profile when logging into a linux server).
The environment variables are different for projects you work on.
If you log into the dashboard, you will find API Access under the Project menu on the left hand side.
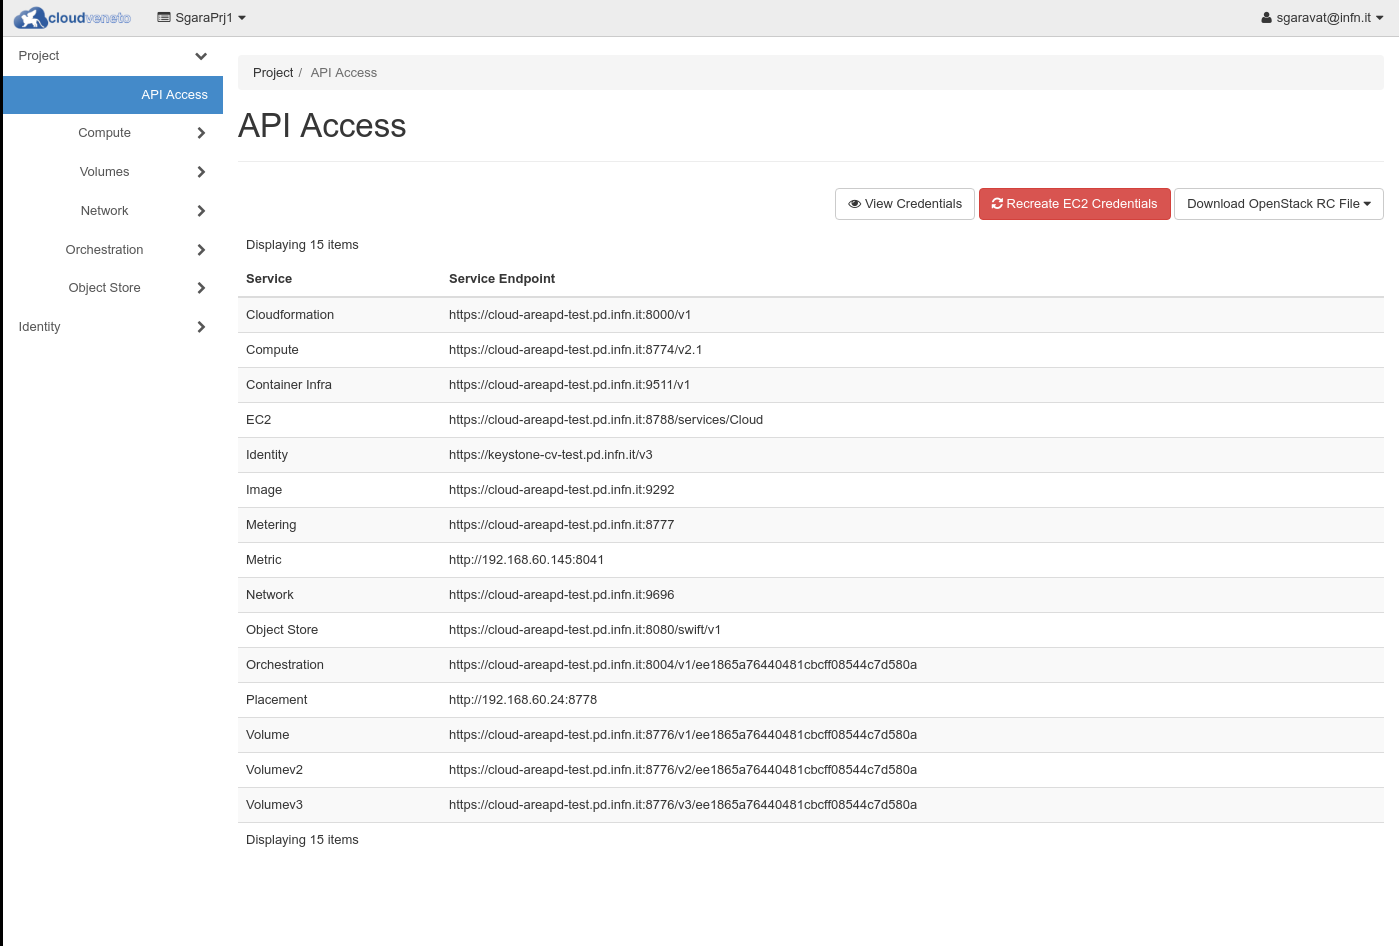
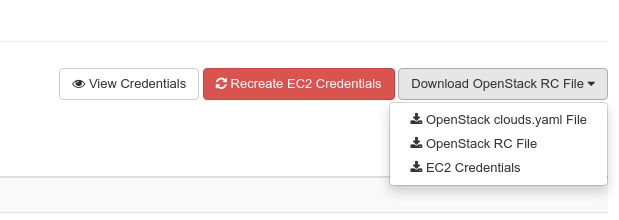
Select Download OpenStack RC file and then OpenStack RC file, to download the rc file for your current project.
This file is different for each of the projects you are working on.
The downloaded rc file should be saved onto the machine you want to run the commands from. If you use csh rather than bash/zsh for your shell, you would need to create a new version using setenv rather than export.
Since the CloudVeneto services are secured using SSL, you will need the CloudVenetoCAs.pem “certification authority” file. This file can be downloaded from here.
Once you get the file you need to edit the RC file to set the
OS_CACERT variable like this:
export OS_CACERT=/etc/grid-security/certificates/CloudVenetoCAs.pem
Note
The certificate can be put anywhere on the client as long as the path you specify is consistent.
To test it works, source the rc script file and enter your password to authenticate. The OpenStack command line tools can then be used, e.g.:
$ . SgaraPrj1-openrc.sh
Please enter your OpenStack Password for project SgaraPrj1 as user sgaravat@infn.it:
$ openstack server list
+--------------------------------------+--------------+--------+-------------------------+------------+
| ID                                   | Name         | Status | Networks                | Image Name |
+--------------------------------------+--------------+--------+-------------------------+------------+
| 89088351-90d8-4346-8ecf-ad08750b9d9a | tinies-uno-5 | ACTIVE | SgaraPrj1-lan=10.1.1.4  | cirros     |
| 44d12ad6-cc7e-47c3-a6d5-5e2b7c32d542 | tinies-uno-4 | ACTIVE | SgaraPrj1-lan=10.1.1.17 | cirros     |
| 02a40340-d238-4405-b5f3-3d38d9f9b485 | tinies-uno-3 | ACTIVE | SgaraPrj1-lan=10.1.1.12 | cirros     |
| bc6098c7-6ec6-4ac1-8aee-9e1edb33836a | tinies-uno-2 | ACTIVE | SgaraPrj1-lan=10.1.1.6  | cirros     |
| 1a1ab1b8-a3dd-401d-a8c2-cbd30b02e066 | tinies-uno-1 | ACTIVE | SgaraPrj1-lan=10.1.1.10 | cirros     |
| 4e2c6cc7-bc1c-49a1-951e-10b567247588 | dasgara1-2   | ACTIVE | SgaraPrj1-lan=10.1.1.11 | cirros     |
+--------------------------------------+--------------+--------+-------------------------+------------+
$
Note
When you source the rc script you are asked for a password. If the password is wrong, you will be told (with a generic authentication error) only when you issue some OpenStack commands.